

I only recommend products and services that I use myself. This post contains affiliate links. If you use these links to buy something I may earn a commission at no additional cost to you to support the on-going maintenance of the site. You can read the full disclaimer here.
If you are a first time mother (FTM) looking to begin your breastfeeding journey and wondering where to start, here’s a comprehensive guide on what you’ll be needing and how much they will cost you. Don’t need the details? Scroll all the way down for my summary table on my total expenditure with breakdown.
Breast Pump (Main)
If you plan on pumping instead of latching, a breast pump will be your best friend and asset in the breastfeeding journey. Breast pumps are not cheap, so how do you know which to get? My recommendation? Opt for the hospital grade ones for the most powerful suction to ensure you can clear your breasts efficiently and effectively to help stimulate more milk supply in the earliest part of the journey.
A quick poll with most mothers will show that the Spectra S1 is one of the earliest and most popular models out there. That’s the one I ended up choosing (and am still using).
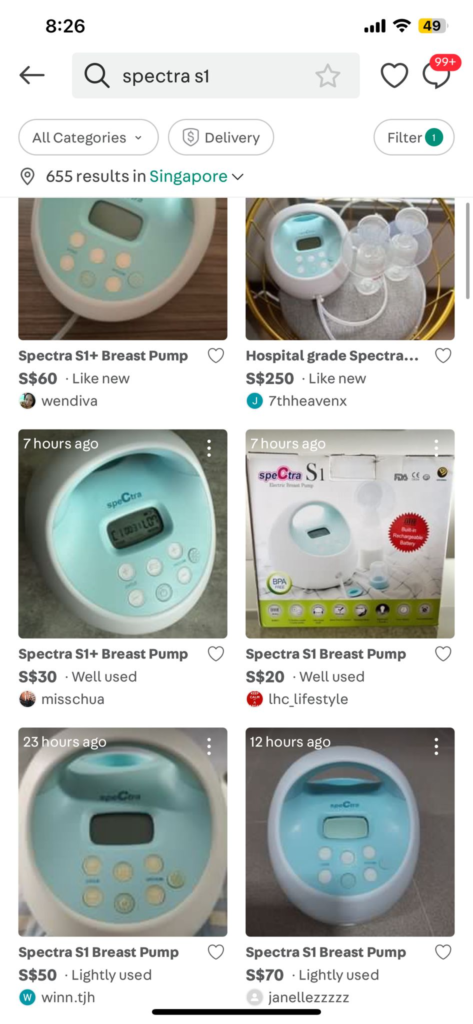
There are 3 main places you can get a Spectra S1 these days:
| Direct Retailer (Local Set) | Overseas Korean Set | Carousell |
| SGD 408 From Kulily | Usually cheaper than local set no local warranty | Less than $60 for a second-hand set |
I got one lightly used set for $50 before I gave birth. After using one for the first month, I decided it was pretty good and spent another $40 for a second set so I could use one pump per boob for even better and more effective clearing of my boobs as I was prone to clogging if I didn’t clear well.
Breast Pump (Wearable / Portable / Handsfree)
Shortly after a month into the breastfeeding journey, I started to get fed up of being tied down to the bulky spectra S1 whenever I had to pump. Pumping meant I needed to sit down at my dining table for 15-20 mins or even 1 hour (during power pumps).
That was when I started to get tempted by the concept of handsfree wearable pumps. So after much research I got the Baby Express BE Nude wearable breast pump to try out. I choose it for it’s ease of use – but as with breast pumps I’ve realised what’s suitable for one mother may not be suitable for another. So try it out if you can!

When it worked out for me, I went on to get the other side so I can pump both sides at the same time. But if you’re working with a tight budget you can just get one and pump one side at a time (just take twice the amount of time).
Also to reduce the downtime while waiting for it to wash, dry and sterilize, I also got a spare set of collection cups, and relevant accessories – which turned out quite unnecessary because I didn’t end up using the spare ones much since I still mainly relied on my Spectra S1 since I work from home.
Update: I realized after a while that wearable pumps are not as strong at clearing my breasts from milk which resulted in lots of clogging. So I only used it occasionally when I REALLY needed to be on the go. Else, I stuck to my trusty Spectra S1! But it may not be an issue if you are not an over supplier like me because I know of mums who use wearables well too.
Plan to get a Baby Express Wearable? Save 10% off with my discount code TENOFF or simply click on this link for your purchase.
Breast Pump Accessories & Bottles
Since the breast pump is just the motor, you need other accessories to help with the collection of the milk. For most breast pumps these are standard accessories:
- Flanges
- Valves
- Backflow Protector
- Tubing
- Bottles
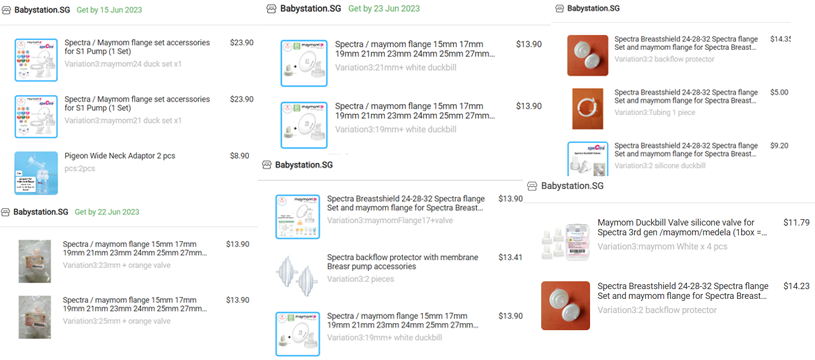
The reason for so many purchases of accessories? Because of the swelling and deswelling of the nipple size in the first few months, I ended up having to purchase different sizes of flanges along the way. Also after 5-6 months, I replaced all the accessories for a new set because of my understanding that there is wear and tear and hence should be replaced over time.
As you can see my favourite seller is Babystation on Lazada (Or here on Shopee!) for the simple reason that they have a wide selection and delivers pretty quickly! She was even kind enough to let me swap out unopened kits for new sizes when I discovered I ordered the wrong sizes. For my 15 month breastfeeding journey, I got ALL my flanges from her.

My choice of storage bottles are the Autumnz bottles. For these, I just wanted something BPA free, cheap and compatible with my flanges and the Autumnz bottles were perfect! I’ve replaced them once at the 6 month mark too but glad that didn’t burn a hole in my pocket.
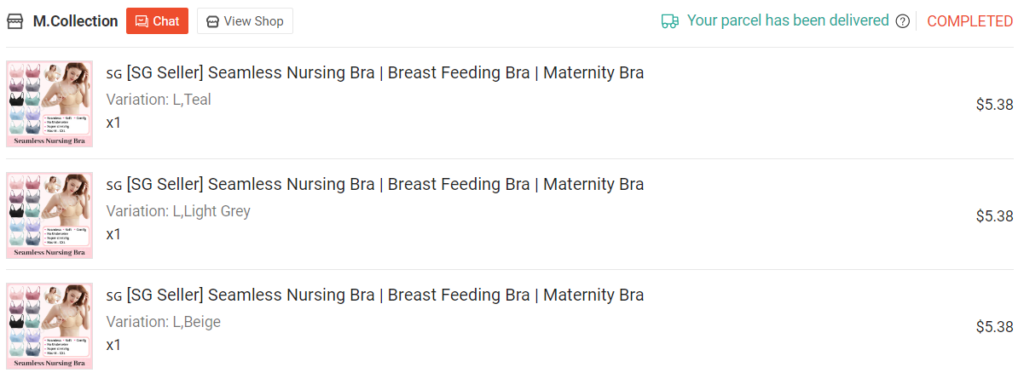
Handsfree Pumping Bras
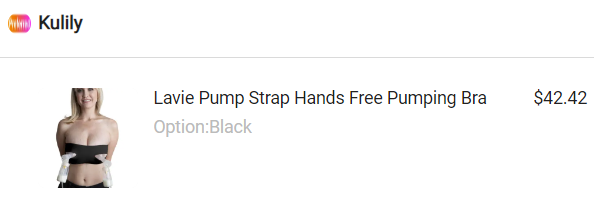
I went through some trial and error with these – and hence wasted money. Prior to delivery I bought several types which just did not work out for me when it came to actual usage – mostly due to difficulty of inserting and keeping the flanges stable in the bra. In the end, I just ended up using two types which I will recommend- one a proper handsfree bra, and another normal nursing bra (with a hack) to allow for handsfree pumping.
This Lavie handsfree bra was super helpful at the initial months where I was just walking around bra free because of the sensitive and chaffed nipples. So whenever it was pumping time, I’ll just strap this on and stick the flanges in and not worry about it falling off. It’s super easy to use, just wrap around and velcro on, so it’s free size and should suit anyone. It also dries quickly so you can quickly rinse it and dry it for the next day.
This other no brand nursing bra (only $3+) is my favourite that I started using once the nipples stopped being so sensitive, and am still using now. I personally feel like its a dupe of the Lovemere bra which I also have one as a freebie and love using.
Milk Storage Bags (Optional)
Due to an oversupply (I had more milk supply than baby drank), I needed to store the excess milk for future use. I explored a few different brands of milk storage bags thanks to samples from the hospital, friends and fairs and ended up sticking to Sunmum Milk Storage Bags. (Also available on Shopee). This is due to them being affordable (I use a lot >700 bags and counting) , transparent (makes it easy to see my milk), triple lock (to prevent leakage), easy to pack flat, and has an area to write details like the date and amount etc.
Hot Tip: If you are getting the 8oz bag, get the ones that come with 50 bags instead of 30. It’s much more cost effective per bag.
Separate Milk Storage Freezer (Optional)
After the first few weeks, it was clear that our current fridge’s freezer was not going to be able keep up with my growing milk stash. So, I made the decision to get a separate freezer just for baby’s milk. This is also because I plan to breastfeed (via exclusive pumping) for at least 1 year. If you don’t have plans to keep it going for a while, then this might not be relevant.

I opted for a PowerPac 100L chest freezer. (Also available on Shopee)
- PowerPac because it’s a familiar brand and it’s reasonably affordable (with discounts so get it when there are vouchers)
- 100L because anything smaller would fill up very quickly in my case. It filled up complete within 4 months of purchasing it and I started to donate my excess.
- Chest freezer because it stores more for the same capacity and because it retains coldness better than an open door freezer. A consideration in case electricity went out.
Lecithin Supplements (Optional)
For me, this was not optional because I produce extremely fatty milk, which tends to clog my ducts easily. Taking these Legendairy Milk Sunflower Lecithin supplements (also available on Shopee) to help thin out the milk was absolutely necessary for fear of the next painful clogged duct. Now even at 6 months post partum, I am still taking 4 pills a day. Update: I eventually needed alot less, and managed to wean off it fully at 12 months postpartum.
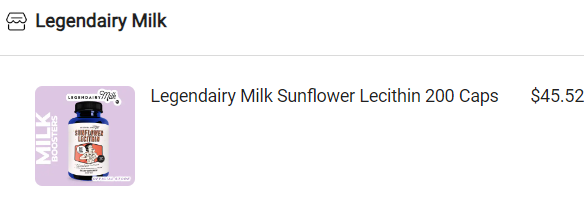
There are many brands to choose from and supposedly the same. But I was recommended this which worked for me and I was just simply too scared to change so I’ve just stuck by it. Fair warning, the pill is quite large to swallow so if you cannot deal with large pills, you might need to look for alternative brands.
Hot tip: Stock up on sales if you have fatty milk! It normally goes for $49.90 (200 caps) but during promos I’ve managed to get it for $40 per bottle.
Miscellaneous Comfort Items
The pain from breastfeeding (hello engorgement and clogged ducts!) is quite unlike anything I’ve ever suffered before. That’s saying something for someone like me who trained competitively in sports every day in my primary school days, have excruciating period pain from which I blackout from, and went through all the hormonal changes during IVF and pregnancy.
Many nights of panicked researching through pain and tears found me these items that helped me tide through the insane first few months. And now I hope to share it with many more mothers to help them through these trying times too.
Breast Massages
These were the ultimate lifesaver during my painful breastfeeding journey. Not only did they help bring me relief during the insanely excruciating engorgement and clogged duct periods, the masseurs also taught me many insightful learnings about breastfeeding – which I’ll share more about in another article.
One important thing I do want to advocate here is that breast massages are NOT supposed to be painful. The two regular masseurs that I used (Mama Jo and MWellness) use only gentle techniques to resolve any issues you have. I went for one extremely painful session at Madam Partum which not only did not resolve my clogged duct issue but left me in tears (more on that in the future).
Unfortunately breast massages are not cheap (~$100 per session) and hence this was probably one of my largest expense in this breastfeeding journey. I’ve done 12 targeted sessions so far to resolve issues, this excludes post natal massages (which also include maintenance breast massages.
Breastfeeding Gel Pads
Use these for cold compress (also available on Shopee) in between pumps whenever you have engorgement episodes. It helps to relieve the warm throbbing pain that makes you feel like your boobs are going to explode. I got two sets so one set is always in the freezer cold and frozen ready for use.

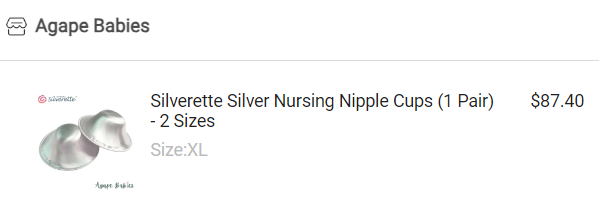
Silverette
These Silverette Silver Nursing Nipple Cups (also available on Lazada) were recommended by the lactation consultant I saw pre-delivery. Did it help much? I’m not very sure. It definitely does NOT relieve the nipple pain for me. But did it help with the healing of the chafed nipples? Perhaps, I don’t really know. But there are other mums who swear by it. So, I would say try it out because anything’s worth trying at that point. But there are other silver nursing nipple cups that supposedly do the same thing for less than half the price. So maybe consider those if you are on a budget.
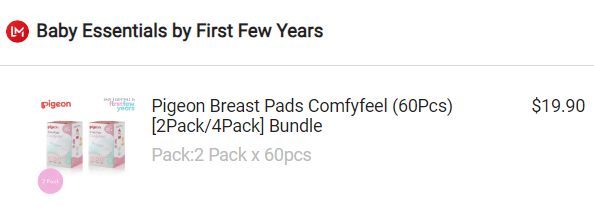
Breast Pads
Because of the painful nipples, I very much preferred to go braless. But when I did need to put on bras, these breast pads were a lifesaver – acting as a soft barrier against the harsher material of the bras. I tried out other brands which provided samples but the Pigeon Comfyfeel Breastpads (also available on Lazada!) worked best for me.
I know of friends who continue to use these due to leakage, but I stopped using them after the 3rd month or so as I don’t have leakages. So don’t stock up too much.
Summary: Total Expenditure on Breastfeeding Essentials
| Breastfeeding Essentials Over 6 Month Period | Cost (SGD) |
| Breast Pump (Main) | $90 |
| Breast Pump (Wearables) | $313 |
| Pump Accessories and Storage Bottles | $236 + $60 |
| Milk Storage Bags | $55 |
| Handsfree Pumping Bras | $199 |
| Milk Storage Freezer | $196 |
| Lecithin Supplements | $250 |
| Miscellaneous (Breast Massages, Cold Compress Gel Pads, Silverette, Breast Pads) | $1350 |
The good news is most of these spend are one-off investments. The next 6 months going forward will likely require me to only replace things like pump accessories, storage bottles, storage bags, and supplements. My frequency of breast massages have also dropped from 4-6 times a month in the first two months down to once a month for maintenance.
Hopefully this detailed breakdown of breastfeeding essentials will help you prepare for your very own breastfeeding journey too!
Find this article useful? Do help share this article with your fellow mummy and daddy friends and spread the love! It’s not easy putting all this information together and I do hope for more to benefit from it! For more baby essentials and helpful tips, check out our other articles here:


7 Comments on “Breastfeeding Essentials: How Much I Spent In the First 6 Months?”